A tutorial on how to DIY wallpaper with old sheet-music.
{Of course you could use any vintage papers that are pretty or have special meaning to you.}
{Of course you could use any vintage papers that are pretty or have special meaning to you.}

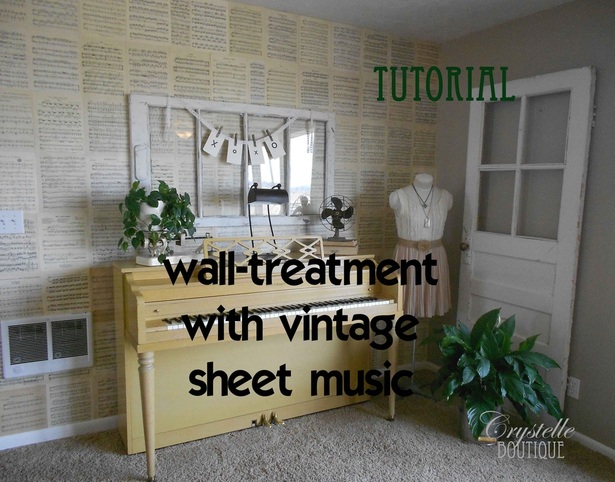
DIY vintage paper as wallpaper! YES!
I love the way it looks, I love the nostalgia it brings along.... I just love it....
I love the way it looks, I love the nostalgia it brings along.... I just love it....

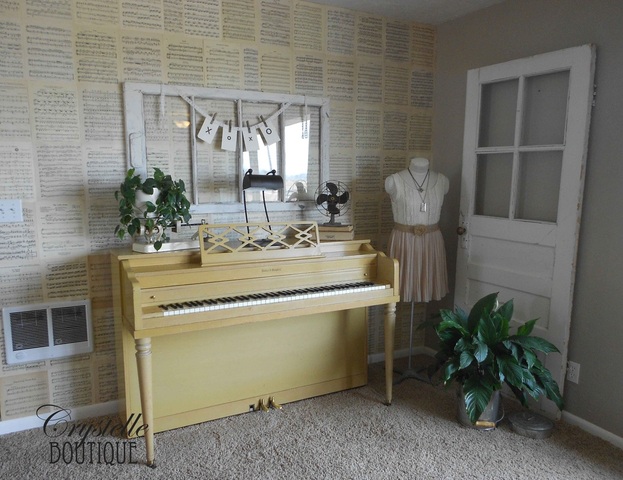
My favorite part of this very fun music wall is when Beth, my pianist friend, comes over, sits down, and starts playing the wall! She plays short passages from Beethoven, Braum, Bach, folk-music, finger exercises, etc. etc.... They're all on the wall! I love it....
I could listen to her all day...!
{We play a little bit too, but not like she does.... }
I could listen to her all day...!
{We play a little bit too, but not like she does.... }

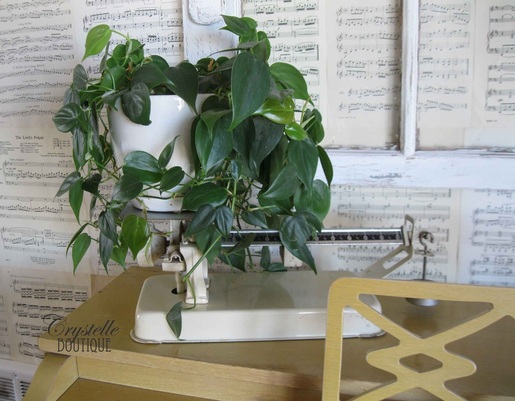
This is my vintage baby-scale that I use as a plant stand....
Over the last summer I had collected some vintage sheet-music at thrift stores and estate sales, and always selected those which had the most yellowing....
Then in the fall it was time to wall-paper the wall behind the piano.
We had a little bit of a sneak-peak of the wall
with the post I did on the potato sack stockings.
I am just now getting around to posting how I did it. {Sorry!!}
I learned quite a bit along the way, and hope that my mistakes and tips will help you out when you paper your wall with vintage music paper or other old pages of some sort.
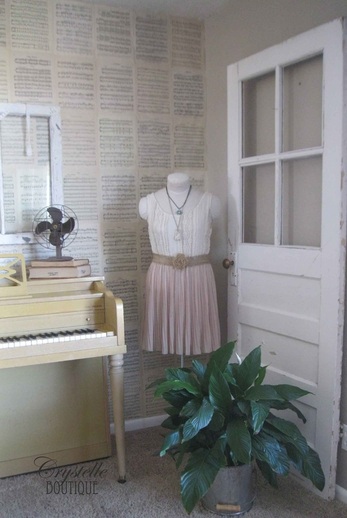
music / piano wall / corner
I had no idea that I had WAY too much musicpapers so now I have LOTS left-over to so something fun with... :) Yay!

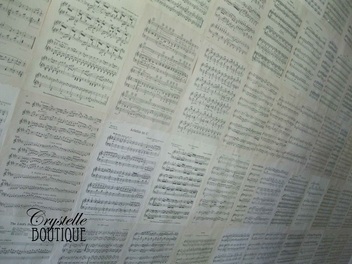
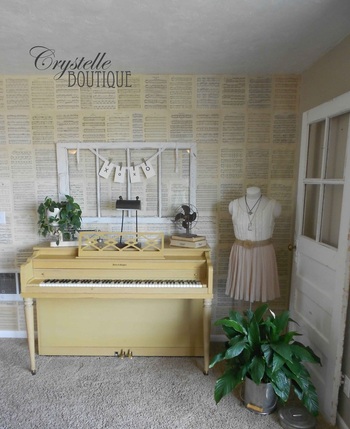
vintage sheetmusic paper used as wallpaper
Tips
And now I will tell you how I did it!
It took me two days beginning to end.
I started by thoroughly cleaning the wall, then painting over it with primer (the wall WAS a deep red: very popular ten years ago....heeheehee).
These are some of the things I learned along the way (the hard way, unfortunately):
It took me two days beginning to end.
I started by thoroughly cleaning the wall, then painting over it with primer (the wall WAS a deep red: very popular ten years ago....heeheehee).
These are some of the things I learned along the way (the hard way, unfortunately):
- Using Mod Podge or wallpaper glue makes the sheetmusic very wrinkly. You might like that, but I didn't, so I removed them, scrubbed the wall clean again, and started over.
- I thought I would like the removable tape, so I could reposition the pages, but alas: ALL the pages that I used the removable tape with had to be redone, because they were falling off!
- Double sided tape is a little bit spendy, but to my surprise the least expensive variety that I found (Target-brand) was the tape I liked best (for this project)! Good news!

How to wall-paper with vintage music papers
P.S. I want to paint my piano.... What color do you think I should go?
Supplies
- a stack of old paper (book pages, magazine pages, sheetmusic, letters, receipts, etc.)
- double-sided tape ( I used 7)
- scissors
- spackling knife
Tutorial: How to Wallpaper With Vintage Sheetmusic
Go through the slides below for step-by step instructions and tips.
Also read the tips above.
Also read the tips above.


 RSS Feed
